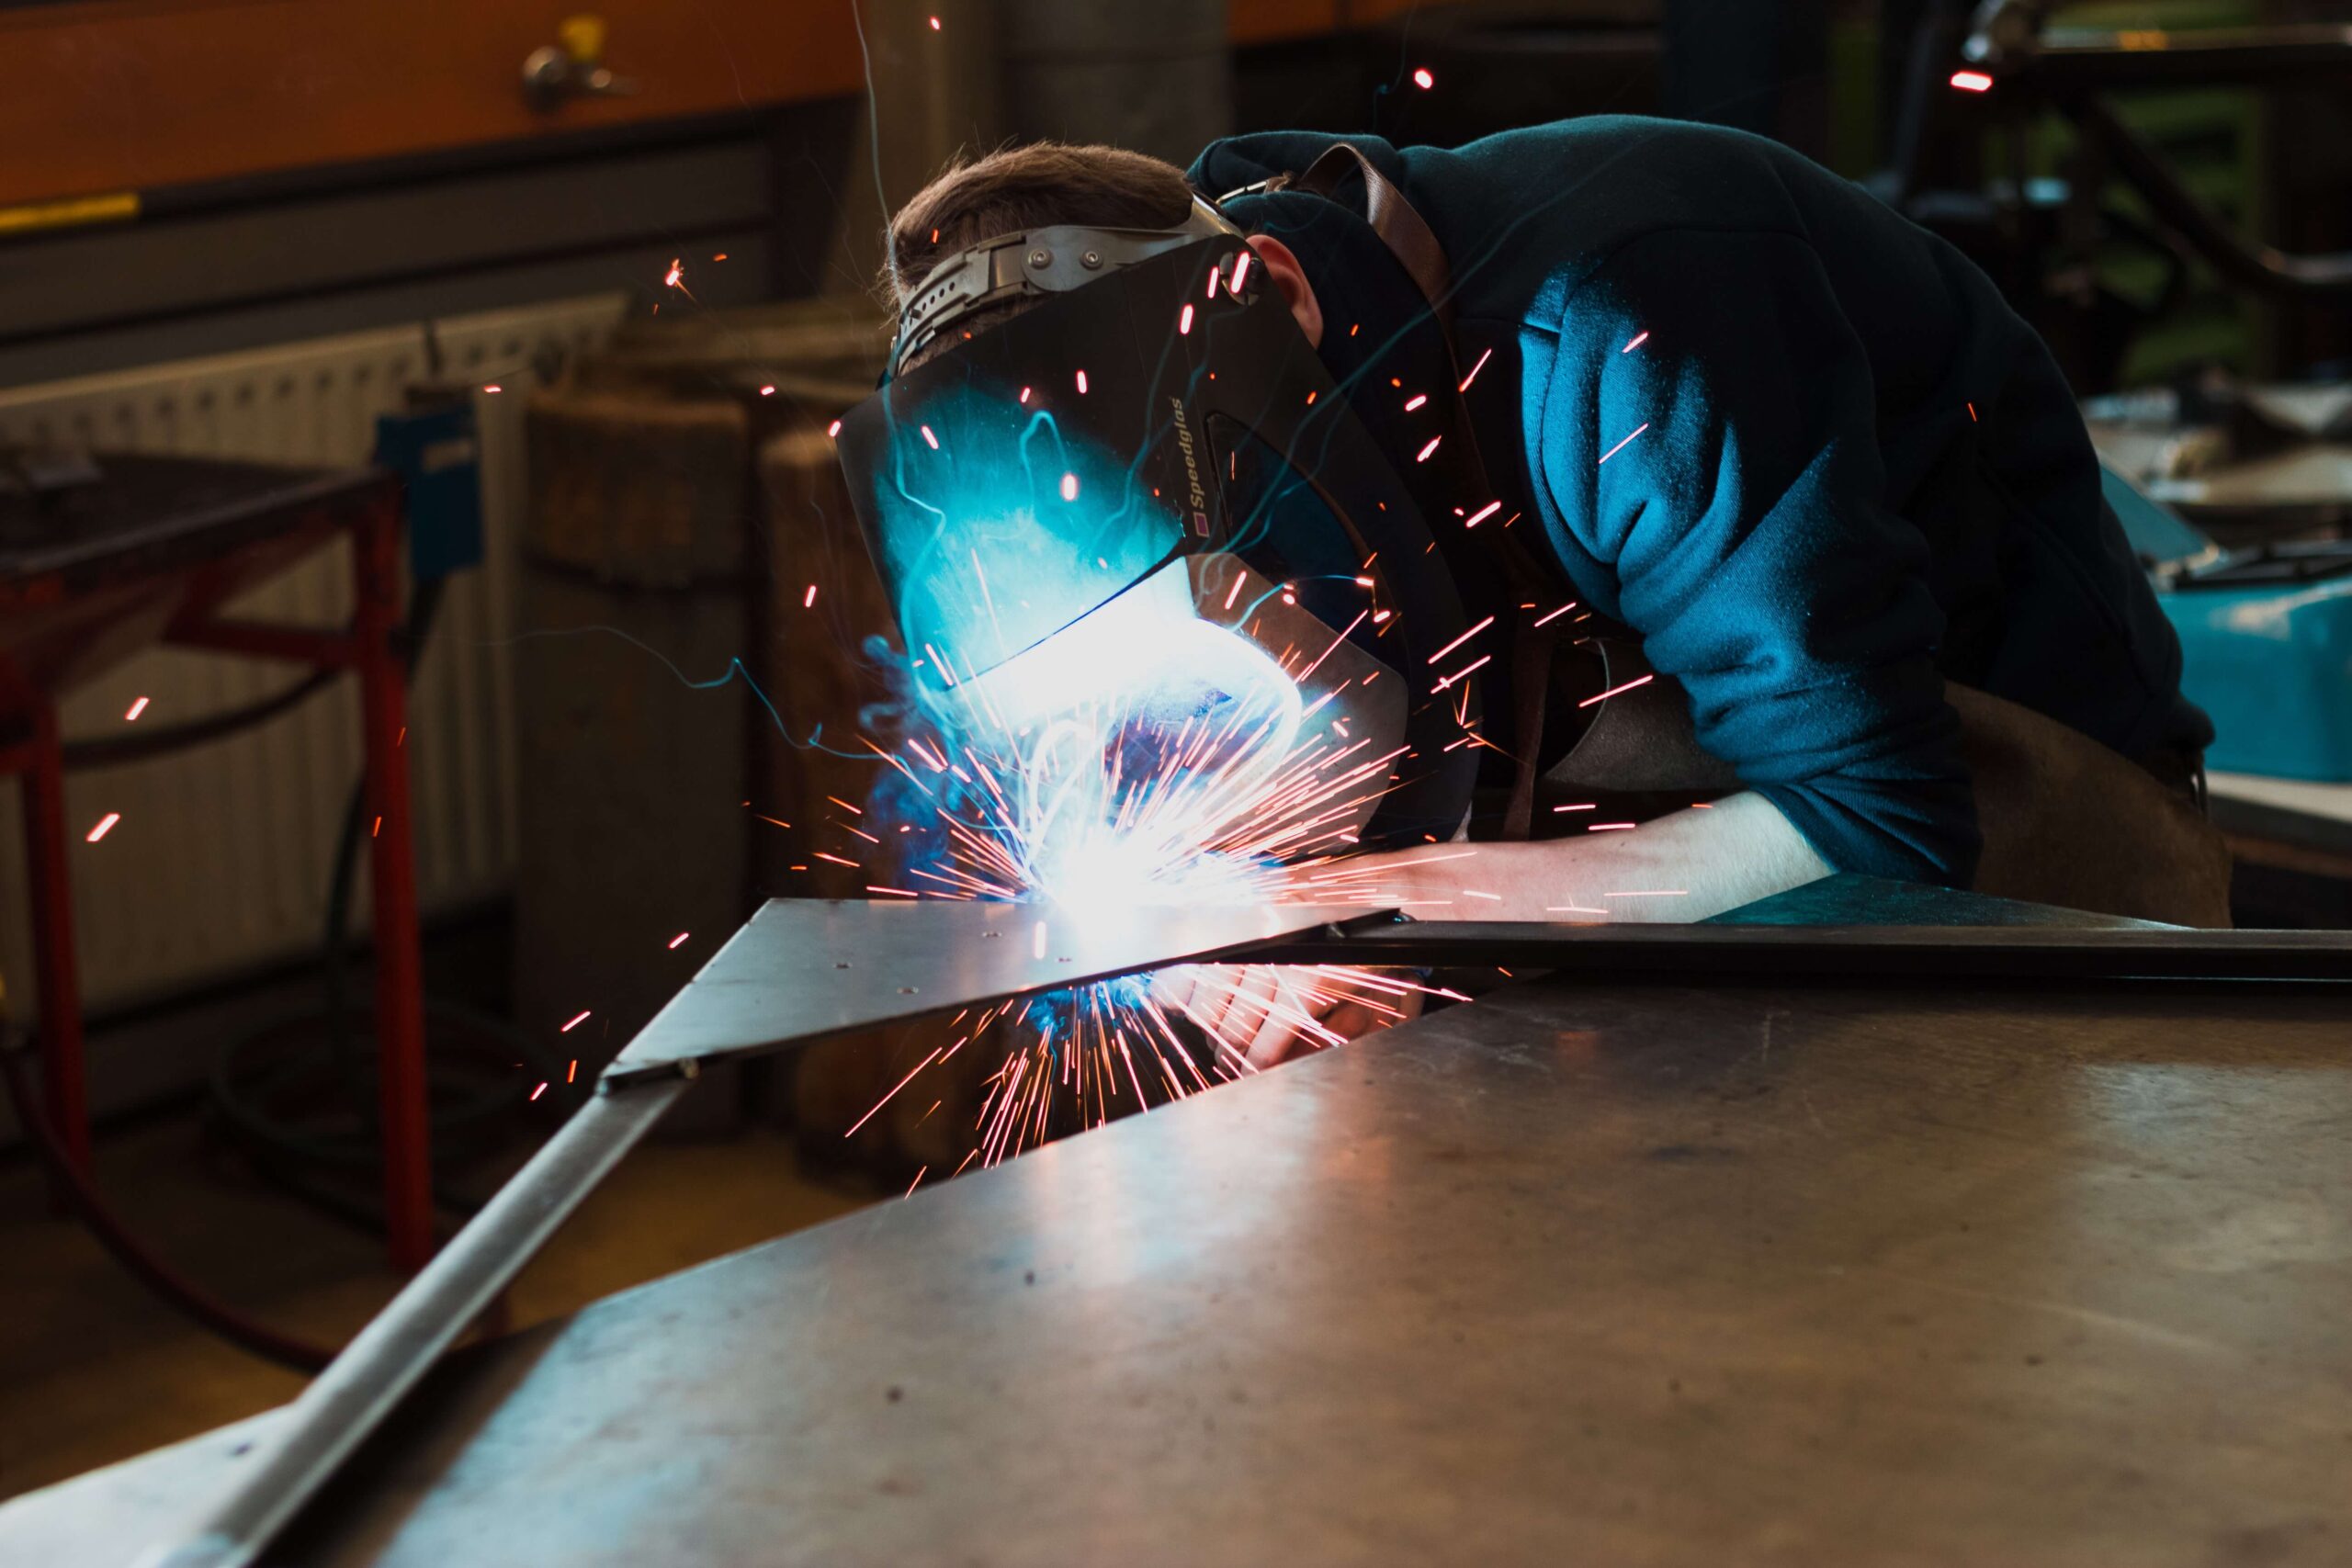
Corner joint welding is a specialized process used to join two pieces of material that are connected at a 90-degree angle, creating an L-shape. Experienced welders know that many techniques are similar in the way they look when the weld is complete and in terms of the positioning of the material. But corner joint welding remains a specific technique and process for specific situations and use cases.
In This Article
What is a Corner Joint Weld?
A corner joint weld connects two pieces of material arranged at a 90-degree angle, forming an L shape. This is a common and relatively easy type of joint to weld. Edge prep for this type of weld is minimal, simple, and straightforward. Further, this type of weld can be used to join sections of various thicknesses from very thick to relatively thin.
A corner joint weld is similar to a T-joint weld. But for documentation and engineering, it is important not to confuse a T-joint with an L-joint. The difference is that an L-joint is formed at a corner of the finished product, not on the side and not in the center, but at a corner. With a T-joint, a weld can be made on each side of the join, for a total of two welds, but both will be a weld on the inside of a corner.
With an L-joint or corner joint, you can also make two welds, if the outer edge is available to the welder. But one will be inside the joint and the other will be on the outer corner of the joint.
Four Types of Corner Joint
Corner welds are extremely common and come in four widely recognized types; the Fillet weld corner joint, the Flush or closed corner joint, the Half-open corner joint, and the Fully open corner joint.
Fillet weld corner joint
This type of weld is common on box frames, tanks, boxes, and other similar projects. To perform it, panels are arranged so that a corner edge of one piece is touching a corner edge of another piece, as opposed to the end of one piece touching the side (side of the end) of the other. The welder then draws a bead in the channel or valley on the outer edge of the join, filling the gap. This generally results in a rounded or flat corner.
Flush or closed corner joint
In a flush or closed corner weld, the welder places two pieces of material together at the end. But instead of touching end corner to end corner, the end of one piece touches the side of the other. In this type of weld, there is no gap to fill since the pieces are flush with each other.
Half-open corner joint
This type of weld is similar to the flush joint except that one is not perfectly flush with the other. The welder might place the pieces together in the same way as he would in a flush joint, but then he will move the flush piece so that half of the end of the other piece is exposed. This leaves a nice gap on the outside corner for the welder to fill in.
Fully open corner joint
With this type of join, the welder arranges two pieces of material very much as we do with a fillet weld. The difference here is that the corners are not touching. This type of weld is also referred to as a fully open corner joint. This type of weld is often preferred when joining two pieces of thick material. If the back corner is available, welding it on both sides makes for an especially strong join.
Each of these types of joint has variations of its own. Each can be welded on the inside corner, the outside corner, or both depending on the material, the needs of the project, and the accessibility available to the welder.
Choosing a Corner Weld Type
There are multiple types of corner joints to choose from. Each is best for certain types of material on different types of finished products. Choosing the one that suits your tools, material, and project best is the first step to ensuring quality work. If you have the time and inclination, it is advisable to find an example of the product you intend to create. Find the welds in the item and consider following its example.
Corner Joint Welding Symbol
Multiple welding symbols can represent a corner joint weld.
In a corner joint welding symbol, the arrow points to the side of the joint that will be welded first. The point of the arrow indicates the direction of welding travel. A line is drawn perpendicular to the reference line at the point where welding is to begin. This line is called the tail line. Another line, called the leader line, is then drawn from the tail line to the point on the reference line where welding is to end.
The size and type of weld bead specified on a corner joint welding symbol are indicated by symbols located near the tail line. These symbols can be either letters or numbers. The most common letter symbols used are:
S – Symbol for spot weld
T – Symbol for tee weld
L – Symbol for lap weld
The most common number symbols used are:
1 – Symbol for fillet weld size
2 – Symbol for butt joint weld size
Corner Joint Welding Strength
The strength of a corner joint weld can be enhanced by increasing the amount of weld material, or by adding metal plates or bars (reinforcing) to the joints on either side of the weld. However, these methods require more time and effort to implement, and are not always practical.
Another way to improve the strength of a corner joint weld is to use a higher grade of welding wire. This will increase the amount of filler metal deposited in the joint, which in turn will increase the strength of the joint.
Finally, another method that can be used to improve the strength of a corner joint weld is to preheat the metal before welding. This helps to prevent warping and shrinking of the metal during welding, which can lead to joint weakness.
When welding corner joints, it is important to use the correct welding technique. The most common error made when welding corner joints is to use too much heat. This can cause the metal to warp and shrink, which will reduce the strength of the weld.
It is also important to make sure that the weld bead is placed in the center of the joint. If the weld bead is not placed in the center of the joint, it can cause one side of the joint to be weaker than the other.
Finally, it is important to use a welder that has a high duty cycle. A welder with a high duty cycle can weld for longer periods of time without overheating the metal. This is important because it helps to prevent warping and shrinking of the metal.
Corner Joint Welding Tips & Advantages
When preparing to perform a corner joint weld, it is very important to consider the thickness of the material. We must also consider the strength requirements of the project to be completed. For a quality corner weld, keep the following points in mind.
- If the thickness of the material is thin, your travel speed should be increased, and/or the heat should be reduced proportionally.
- When working with sheet metal 20 gauge in thickness or less, autogenous welding should be considered.
- Consider using a jig or fixture to prevent distortion and retain the desired shape.
- If you anticipate distortion, consider using sequential welding. Using small bead runs puts less stress on the material, reducing or preventing distortion. Using a sequential technique also gives you a chance to get some perspective as you proceed and prevent small mistakes from becoming big mistakes.
- It is always important to choose the right type of joint for your project. Strength is necessary on thick joints. A fully open corner has the potential to produce the strongest type of corner weld. With thinner pieces, like sheet metal, flush corners will do the job adequately. With intervening thicknesses, a half-open corner weld may be best.
- With any weld or project, if you are new to welding, using a new type of machine, working with new material, or producing a new product type for the first time, practice welding is advisable. If you have the extra time and material, welding a sample of the material you intend to work on is an excellent way to improve the quality of your work.
Frequently Asked Questions
Additional Sources & Resources
- https://www.ncbi.nlm.nih.gov/pubmed/16758797https://www.azom.com/article.aspx?ArticleID=10961
- http://citeseerx.ist.psu.edu/viewdoc/download;jsessionid=A4EC7F909AFEDBB28FB78FE0D31794E8?doi=10.1.1.418.5484&rep=rep1&type=pdf
- https://pdfs.semanticscholar.org/9f3b/dc048a86d607e6548f11863ba72bcaf2baa6.pdf
- https://www.intechopen.com/books/welding-and-welding-technology/thermal-spray-coating-on-titanium-alloy-used-in-electron-beam-welding
- https://www.researchgate.net/publication/228555451_Effect_of_coil_orientation_on_the_mechanical_properties_and_microstructure_of_spot-welded_AZ31B-H24
- http://iopscience.iop.org/article/10.1088/1757-899X/126/1/012103
- http://www.ijmerr.com/v2n3/IJMERR130301.pdfhttps://link.springer.com/content/pdf/10.1007%2Fs40194-015-0377-x.pdf
Image courtesy of AWS


