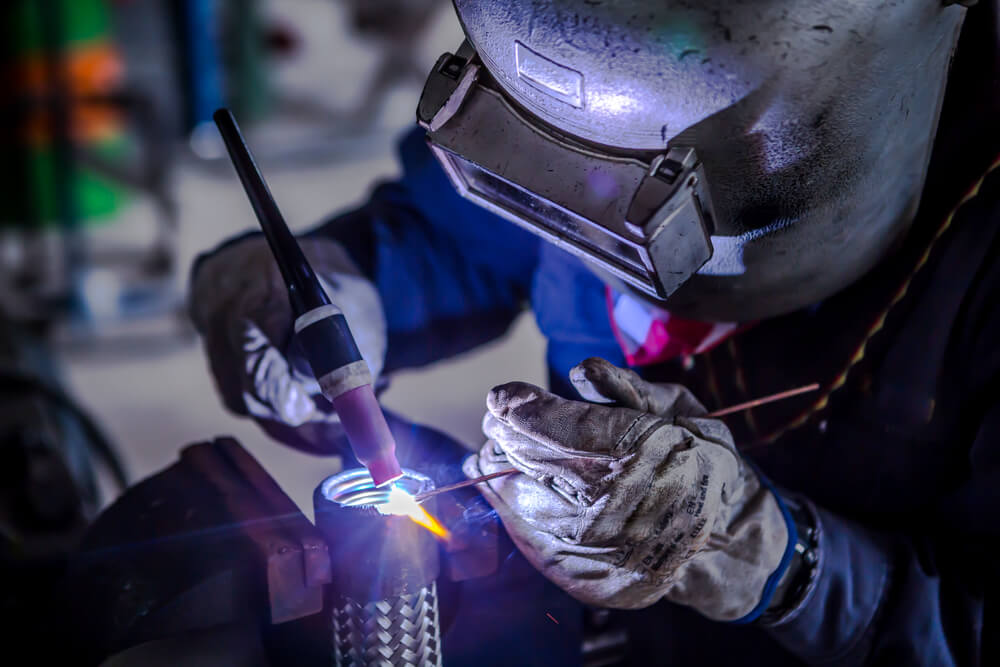
The groove weld is one of the most commonly used welds to join together two pieces of metal. The groove refers to the empty space that you create with a grinder to provide room for the weld.
The groove enables better penetration and a weld that is flush with the two pieces of metal. The flusher the weld is, the easier it is to clean up and grind it level afterward.
In This Article
Types of Groove Welds
The groove weld comes in many varieties that all produce a root where the weld takes hold. The groove varies in shape and width but always gives you more room to lay the weld.
Eight types of groove welds enable you to perform the intended work. Those eight types of groove welds are the:
| Square Groove | Scarf |
| V-Groove | Bevel Groove |
| J-Groove | U-Groove |
| Flare V-Groove | Flare Bevel Groove |
The groove welds are necessary whenever two pieces of metal are flush. The metals either meet at the edges of both pieces or where the edge of one rests flush against the face of the other.
The welder must grind the groove as indicated by the diagram used to create whatever object is being built. Each groove has its own symbol and is designed to provide welds of varying strengths.
What Is the Difference?
The names of each groove generally describe how they should look before laying the weld. The symbols for each will tell you their respective width and depth.
The general differences are the shapes of the respective grooves. For example, a V-groove generally resembles a V formation and creates a cavity into which you can lay your weld.
By contrast, a bevel groove requires you to grind an angle on the edge of one piece of metal that will be affixed to the other piece.
The most unusual are the scarf and square grooves.
A scarf requires you to bevel the edges of two pieces of metal. A scarf would look more like this / / instead of a V shape.
The square groove has parallel sides leading to a flat bottom onto which you lay your weld. It resembles this shape, | |, more than it does a traditional groove shape.
Groove Weld Symbols
The scarf and square groove welds are the most unusual symbols of the eight types of groove welds. Those symbols already are indicated in the section above.
The other six symbols include the V-, J-, and U-grooves and generally resemble those letters. Others refer to the type of bevel and flare on the bevel groove, flare V-groove, and flare bevel groove welds.
The welding diagram will show each groove’s:
- Position
- Angle
- Depth
- Width
With those four pieces of information, you can determine exactly where you need to place each respective weld. The info also will tell you exactly how to shape one or both pieces of metal to accept the weld.
The weld should penetrate to the bottom of the two pieces of metal that you are welding together. Any overpenetration or a weld that is too shallow will weaken the weld and make the entire structure less stable.
The Symbols for Groove Weld Shape
The various symbols for the groove weld also show the type of shape intended for the weld.
There are three types of weld shapes that apply. Those are:
- Concave, which is indicated by a curve bowed in toward the weld.
- Convex, which is indicated by a curve bowed away from the weld.
- Flush, which is indicated by a straight line above or below the weld.
The different weld shapes that you use depend on what you are creating.
A flush or convex weld generally will not interfere with any moving parts or items that might go into the object being made. A convex weld is a little stronger but is not desired on what should be a flat surface.
Cleaning and Inspecting a Groove Weld
After you lay a weld, you need to clean it before you inspect it. Only after cleaning it can you give it a good inspection.
You can use a chipping hammer to remove any slag that collects on and near the weld. Some tiny particles might have gathered on the metal near the weld that you can remove with the flat edge of your chipping hammer.
A wire brush will help you to remove any stubborn remnants of flux and slag so that you can get a good, clear view of the weld.
You want the weld to look uniform and penetrate to the bottom of the metal pieces without blowing through. If you see any signs of improper penetration, bubbling, cracking, or other issues, the weld is bad.
You might be able to rescue a bad weld by grinding out imperfections and making another pass with your welding rod. If not, you might have to start over with one or two new pieces of metal.
Measuring a Groove Weld’s Size
You can measure the groove weld for depth and width prior to laying your weld. After you lay your weld, you can double-check the width and the depth of penetration.
The depth is determined by how deeply you place the groove. So you want to ensure you have followed any diagrams correctly and produced exactly the type of weld by measuring the groove before adding the filler with your welding rod.
Groove Welds Work With Most Types of Weld Joints
The groove weld and all of its versions are highly adaptable and useful with just about every type of weld joint.
Most weld joints require some preparation of the edges to produce the strongest weld. The groove is what enables the welding rod and its metal filler to create strong layers that you can use to permanently join together two pieces of metal.
Once the weld is laid, it should essentially create a single piece of continuous metal.
Even if you were to cut the metal in two through the weld, the metal should appear uniform throughout. It should not appear as though it is two separate pieces with a weld joining them.
Frequently Asked Questions
Additional Sources & Resources
-The Welding Handbook, 9th edition, Volume 2, Materials and Applications; American Welding Society
-Welding Metallurgy and Weldability of Stainless Steels; John C. Lippold and Damian J. Kotecki
-Microstructure and Properties of Low Carbon Martensitic precipitation Hardening Steels for Groove Welds; Takanari Ochi, Akira Iwamoto, Yasuhide Shiotani
-Effect of Dilution on Mechanical Properties of AISI 304LN austenitic stainless steel groove welds; Neelesh Kumar Sharma, Vinay Kumar Gupta, Brijesh Kumar Chauhan

